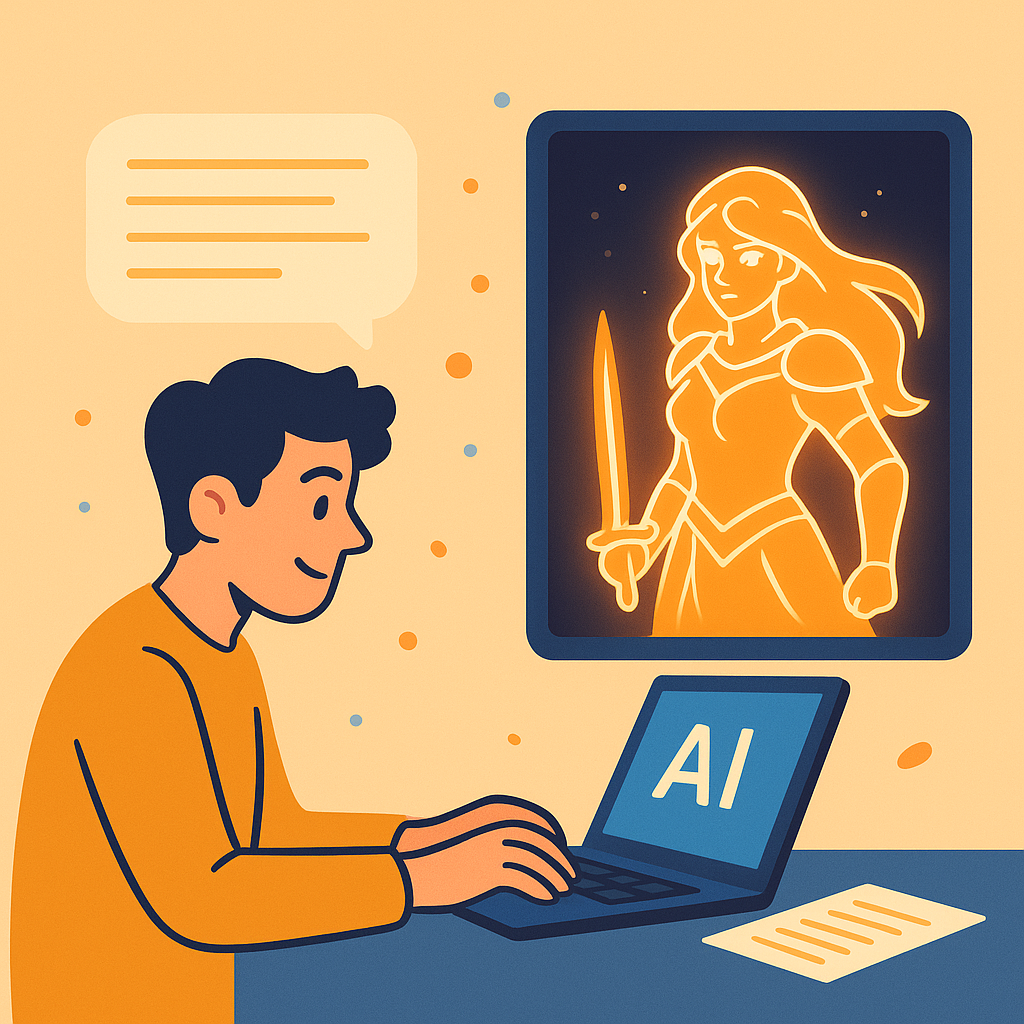
Mastering NovelAI Styles: Tips for Stunning Image Generation

If you’ve ever opened NovelAI and thought “Wow, this thing is both exciting and intimidating”—you’re not alone, and the first picture you generate may surprise you . I remember my first prompt ended up looking like some kind of anime–sci-fi chimera that had a long neck, bad proportions, and don’t even ask about the feet. (Side note: AI really struggles with feet—don’t take it personally.)
But here’s the deal: once you start mastering NovelAI styles, the process shifts from random image slot machine to an actual creative tool you can fine-tune. Whether you’re chasing that glossy anime aesthetic, a painterly oil vibe, or a hyper-detailed portrait with glowing backgrounds—it’s all about understanding styles, prompts, and settings.
So let’s break it down.
NovelAI Styles: What They Are (and Why They Matter)

Think of styles in NovelAI as the lens you’re putting on your camera, which can help you explore various themes . You can shoot the same subject a hundred times, but the filter changes everything: mood, vibe, story. NovelAI gives you those lenses through tags, prompts, and diffusion models.
Side note: Don’t expect perfect results the first time. NovelAI is like training a puppy—you have to keep nudging it in the right direction until it behaves.
👉 Pro tip: Check out NovelAI’s official documentation for a breakdown of settings. (Bookmark it, you’ll thank me later.)
Image Generation: How to Actually Create What’s in Your Head
Here’s the workflow I use when I want to generate images that actually look like the vision in my brain:
- Start with clear prompts. Write specific descriptions—blue hair, whole body, cinematic lighting, etc. Don’t just say “character.” Describe the character like you would to an illustrator.
- Bad prompt: girl in park
- Good prompt: anime girl with blue hair, whole body, wearing futuristic armor, standing in a neon park background, detailed lighting
- Use tags wisely. Tags are basically cheat codes. “bad face” or “bad proportions” in the negative prompt field will save you from nightmares.
- Experiment with Prompt Guidance. Higher values = more detail, sharper results. Lower values = more creativity, looser interpretations.
- Balance Settings. Play with Unwanted Content Strength, adjust saturation, test word count. It’s like seasoning food—you’ll learn how much is too much.
👉 Side Note: The first 50 images you make will probably feel like Pinterest rejects. Stick with it. Your 51st could be art you’d actually print on a poster.

NovelAI Diffusion: The Engine Behind the Magic
NovelAI Diffusion is built on the same foundation as Stable Diffusion, but with its own tweaks. That’s why it feels more polished when you’re going for anime aesthetics.
Why does this matter? Because the model you choose changes the style output. Want painterly vibes? Adjust to higher diffusion versions. Want cute anime mascots? Stick with the anime-optimized ones.
Fine-Tune: Your Secret Weapon
Here’s where you really separate yourself from the casual users: fine-tuning.
👉 Side note: Fine-tuning is less about “perfect settings” and more about trial and error until the AI bends to your will.

Predictable Results (Yes, It’s Possible)
People complain NovelAI is too random. But the truth is: with consistent tags, clear negative prompts, and balanced guidance values—you can reliably reproduce styles.
For example:
- Want a cyberpunk anime girl with blue hair? Save that prompt template and adjust backgrounds.
- Want whole body, realistic shading? Keep it in your negative prompts: “bad proportions, bad face, bad feet.”
I’ve run the same prompt across 10 seeds and gotten 9 images I’d actually use. That’s what I call predictable.
Diffusion v4.5 Full: The Game-Changer
When NovelAI dropped Diffusion v4.5 full, it felt like a graphics card upgrade. Suddenly, the AI could:
It’s not perfect (feet are still cursed, sorry)—but it’s the closest I’ve seen to AI art you could hang up without people instantly saying, “That’s AI, right?”

Common Mistakes to Avoid (AKA: Don’t Do What I Did)
FAQs: Your Burning Questions Answered
Q: What’s the best NovelAI style for anime art?
A: Stick with Diffusion v3 or v4.5 full. Use tags like “anime, manga, blue hair, whole body” for predictable results.
Q: How do I stop NovelAI from generating bad anatomy or weird faces?
A: Negative prompts are your friend: bad anatomy, bad proportions, bad face, bad feet. Always include them.
Q: Can I make realistic art, or is it only anime?
A: Yes—you can push NovelAI towards realism, but it’s still strongest with anime aesthetics. If realism is your main thing, tools like MidJourney or Stable Diffusion XL might serve you better.
Q: Why do my prompts look different every time?
A: Change your seed number. That’s the variable that locks in repeatable outputs.
Q: How do I avoid “bad feet”?
A: Honestly? Cut off the composition above the ankles. (Kidding… sort of. Use negative prompts + practice.)
Final Thoughts: Mastery Comes With Play
Here’s the thing: mastering NovelAI styles isn’t just about how to create a perfect prompt formula. It’s about exploration. Prompt like a storyteller. Experiment like a scientist. Fail like an artist.
NovelAI is just a tool—but in the right hands, it’s a canvas with infinite brushes from which you can generate images . And the more you play with styles, prompts, and settings, the more it feels less like “AI randomness” and more like an extension of your own creativity.
So go ahead and explore your creativity . Open NovelAI, throw in that wild prompt that’s been stuck in your head, and see what happens with AI content generation tools.
👉 Side note: Just… maybe avoid whole body shots with shoes until you’ve mastered the basics. Trust me on this one.
Read more: AI Story Generator Tools
